

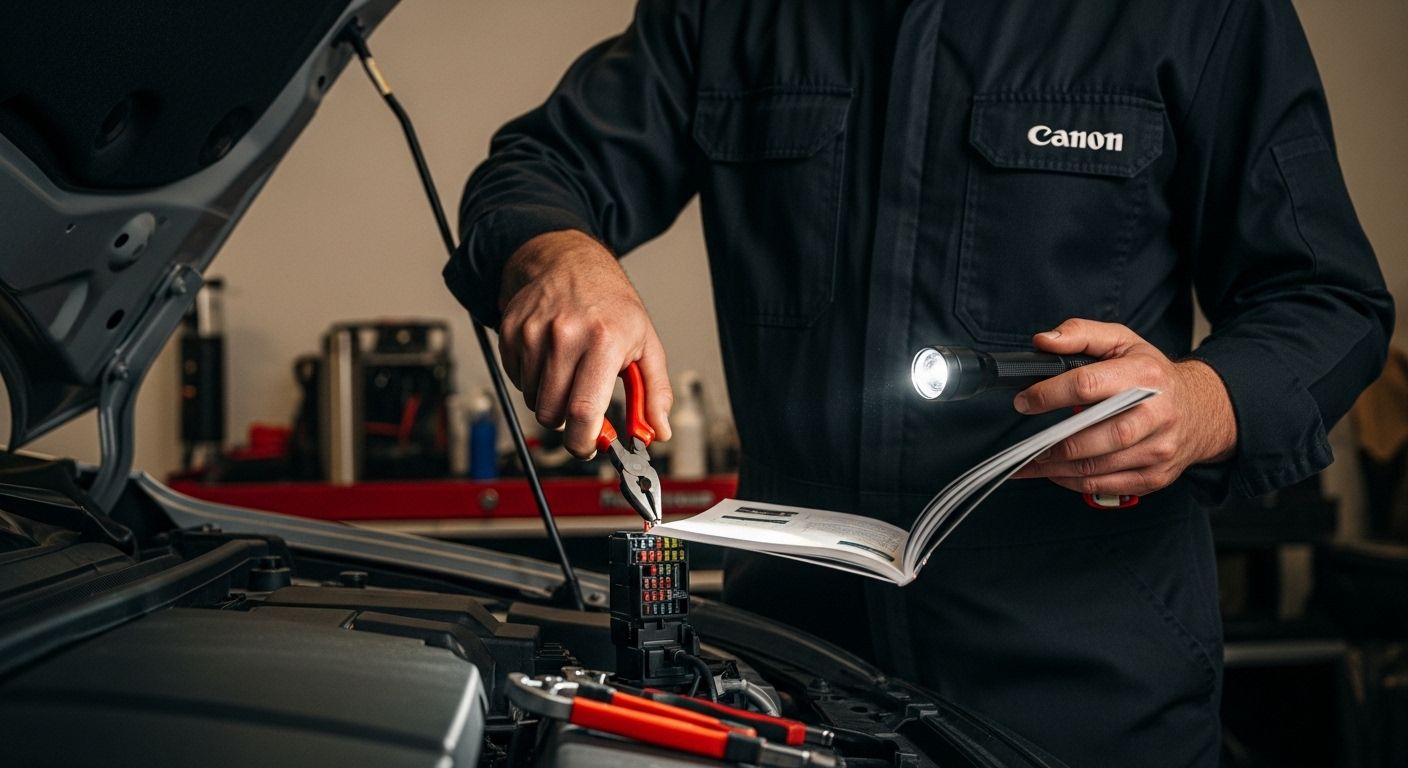
When your car's lighting suddenly fails, it can feel both frustrating and confusing. Many people immediately think of expensive repairs or complicated electrical faults. But the truth is that a simple blown fuse or worn-out bulb explains most car lighting problems, and you can often find the solution yourself in just a few minutes.
Table of Contents
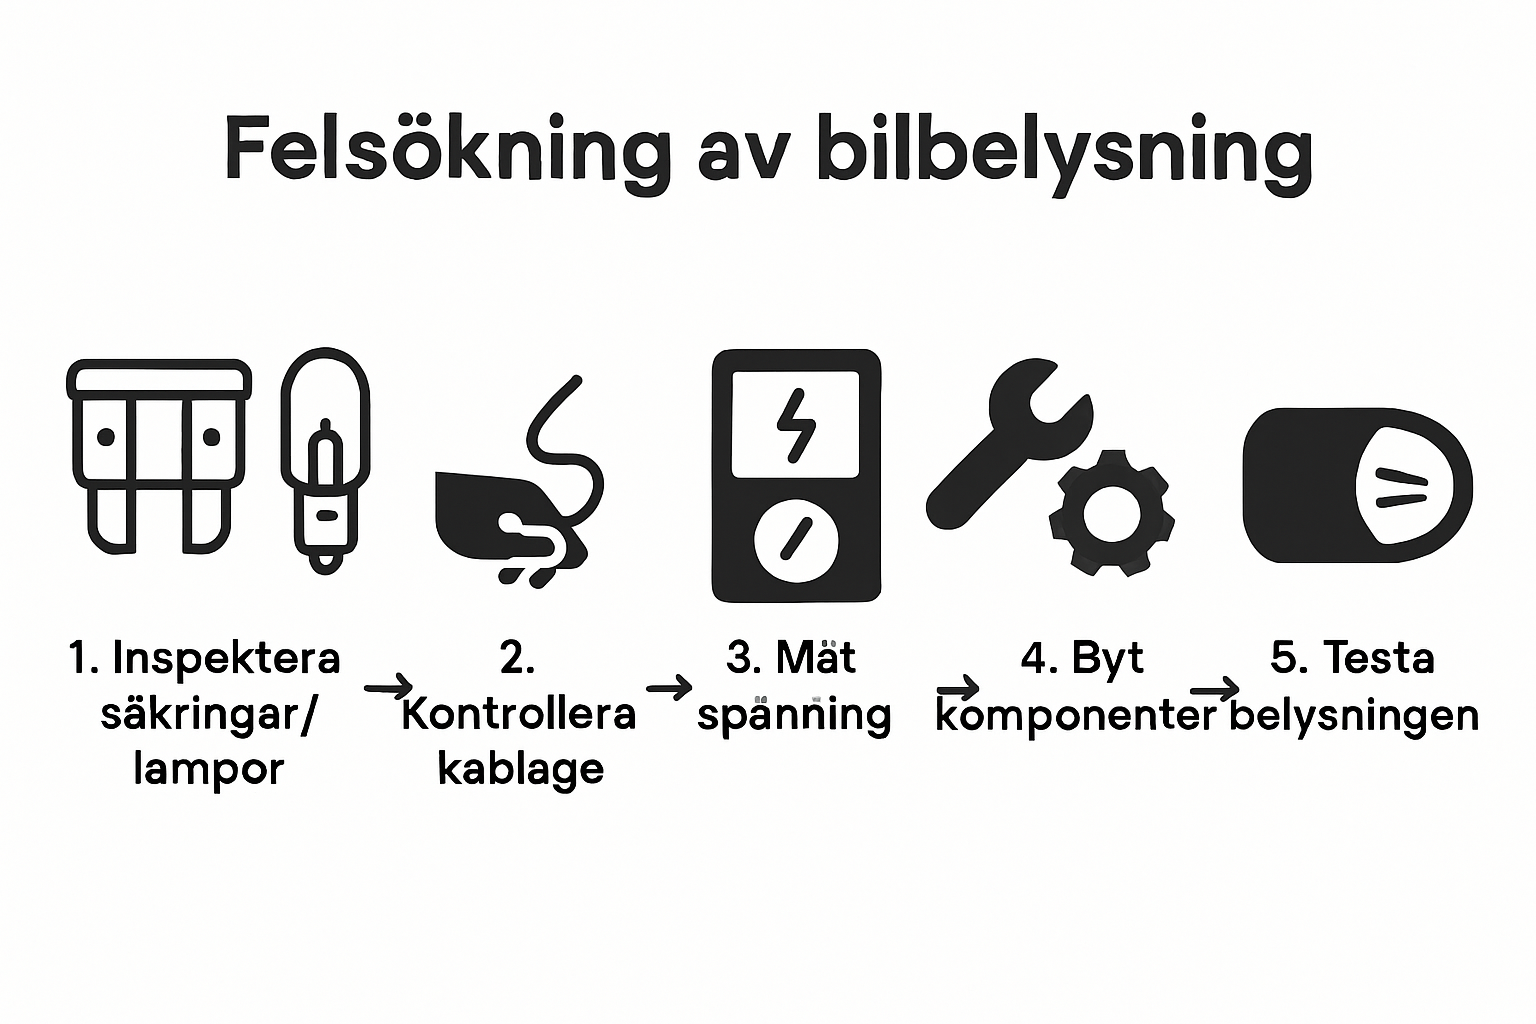
- Step 1: Inspect Bulbs and Fuses
- Step 2: Check Wiring and Connections
- Step 3: Measure Voltage with a Multimeter
- Step 4: Replace Broken Components
- Step 5: Test the Lighting After Repair
Quick Summary
| Key Point | Explanation |
|---|---|
| 1. Check fuses and bulbs | Inspect fuses for damage and bulbs for clear light. Blown fuses or dark bulbs can cause lighting problems. |
| 2. Examine wiring and connections | Check cables for wear and corroded connections. Clean contact points to improve electrical contact. |
| 3. Measure voltage with a multimeter | Test battery voltage and lighting components. Stable voltage indicates a functioning electrical system, while deviations may indicate problems. |
| 4. Replace faulty components | Replace defective bulbs or fuses with the correct spare parts. Disconnect the battery before replacement to avoid damage. |
| 5. Test the lighting after repair | Verify that all lights are working correctly after repair. Check brightness and direction to ensure traffic safety. |
Step 1: Inspect Bulbs and Fuses
When you begin troubleshooting your car's lighting system, the first critical phase is to conduct a thorough inspection of the bulbs and fuses. This basic examination can reveal many simple problems that prevent proper lighting function and avert more complex electrical failures.
Start by locating the fuse box in your car. It is usually found either under the dashboard on the driver's side or in the engine compartment. Consult your car's owner's manual to accurately identify the location of the fuses and their corresponding circuits. With a flashlight and a fuse puller, you can systematically examine each fuse.
When inspecting the fuses, look for signs of damage or disruption. A blown fuse is recognizable by a broken metal filament inside the glass fuse or a visible crack. The color and shape of the fuse can also indicate its status. Gray or darkened fuses signal potential problems and should be replaced immediately.
In parallel with the fuse inspection, examine the car's bulbs. Check headlights, taillights, brake lights, and turn signals. Each bulb should shine clearly and evenly. Dim, flickering, or completely dark bulbs indicate electrical problems or physical damage. Use a test light to confirm the flow of electricity through each bulb socket.
As you conduct this inspection, document your findings. Note which fuses appear damaged and which bulbs are not functioning correctly. This information will be crucial for the next steps in the troubleshooting process and can help you pinpoint the exact electrical problems in your vehicle.
Here are some key details to observe:
- Fuses with melted metal filaments or visible damage
- Bulbs that do not light up or flicker erratically
- Color changes or signs of burns around electrical components
By carefully inspecting the bulbs and fuses, you establish a solid foundation for further diagnosis of your car's lighting system.
Step 2: Check Wiring and Connections
After the initial inspection of bulbs and fuses, the next crucial step is to examine the car's wiring and electrical connections. This phase requires systematic and careful investigation to identify potential damage or disruptions that could affect the lighting system's function.
Begin by locating the wiring harnesses near the lighting systems. Use a strong flashlight and look for visible signs of wear, such as frayed or exposed wires, cracks in the insulation material, or signs of heat damage. Pay particular attention to areas where cables may come into contact with moving parts or sharp edges in the engine compartment and along the vehicle body.
When examining the connections, focus on the contact points between cables and bulbs. Corrosion, greenish coatings, or oxidation at the contacts can indicate poor electrical contact. Use a contact cleaner to carefully clean these points and ensure that the connections are clean and secure. Loose or oxidized connections are often hidden causes of lighting problems.
For a more detailed diagnosis, you can use a multimeter to test the voltage across different electrical circuits. Set the multimeter to DC voltage mode and measure the voltage at various connection points. Normal values vary depending on the car model, but generally, you should see voltage readings near 12 volts when the ignition is on. Deviations may indicate underlying electrical problems.
If you want to learn more about advanced troubleshooting with diagnostic tools, there are additional methods to identify complex electrical faults. However, for this basic inspection, visual inspection and basic measurements are sufficient.
Here are some critical points to document:
- Visible damage to cable insulation
- Signs of corrosion at electrical connections
- Voltage deviations during measurement
- Loose or damaged contacts
By carefully checking wiring and connections, you create a solid foundation for understanding and resolving any electrical problems in your car's lighting system.
Step 3: Measure Voltage with a Multimeter
As you continue troubleshooting your car's lighting system, measuring voltage with a multimeter is a crucial step in diagnosing hidden electrical problems. This technical examination provides you with accurate information on how electricity flows through various components in your vehicle's electrical system.
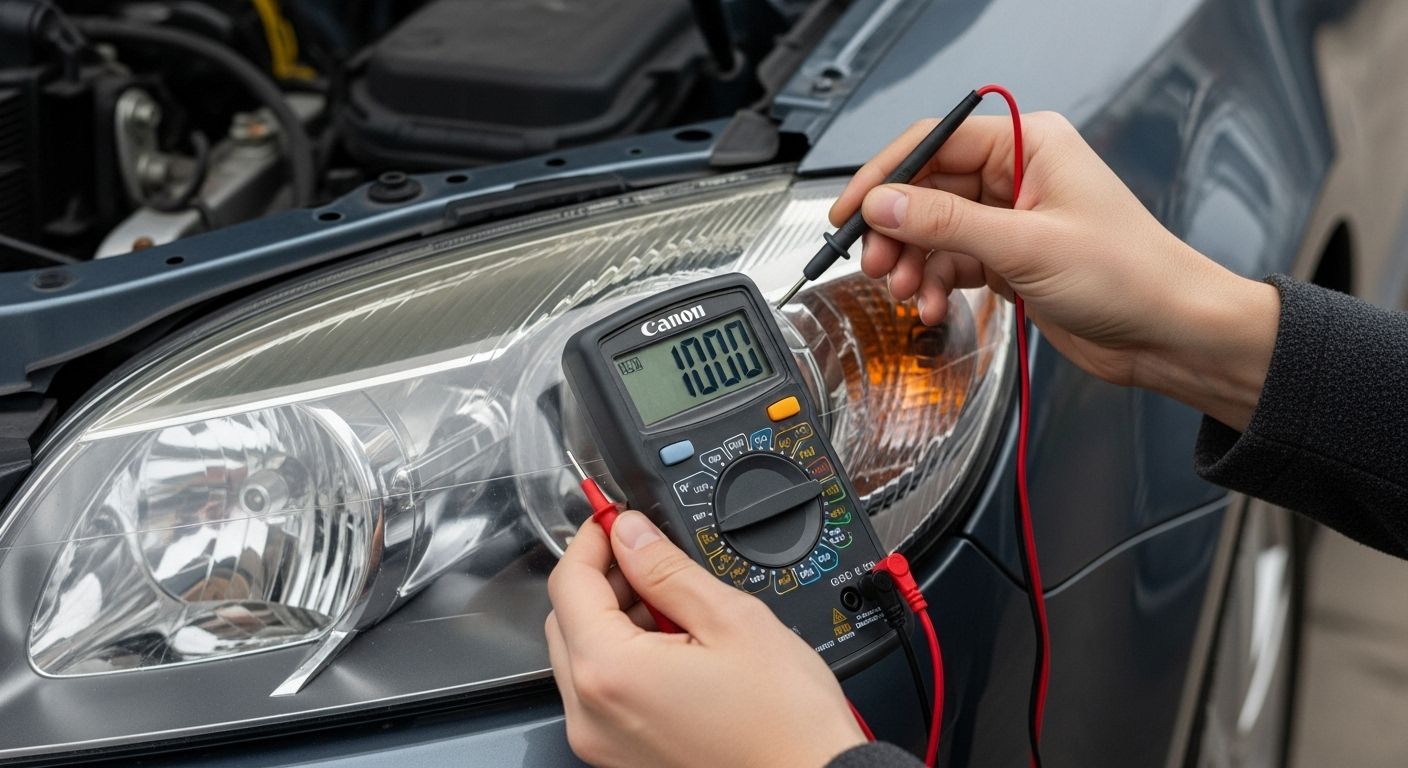
To begin, you will need a digital multimeter capable of measuring DC voltage. Set the multimeter to DC voltage mode (V) with a range above 12 volts. Ensure that the test leads are correctly connected: red lead to the positive terminal and black lead to the negative terminal. This ensures accurate and safe measurements of the car's electrical system.
Start by measuring the battery voltage. Connect the test leads directly to the battery terminals and verify that the voltage is between 12.4 and 12.7 volts when the car is turned off. This indicates a fully charged battery. While driving or when the electrical system is active, the voltage should be around 13.7 to 14.7 volts, indicating that the alternator is functioning correctly.
The next step is to measure the voltage at various lighting components. Locate the connectors for the headlights, taillights, and turn signals. Carefully place the test leads at the contact points and activate the respective lighting function. Stable voltage readings between 12 and 14 volts indicate a functioning electrical system. Deviating or uneven readings may indicate problems with cables, fuses, or the bulb components themselves.
Deepen your knowledge of troubleshooting methods to further understand the electrical systems in modern vehicles. The multimeter is a powerful tool that gives you insight into the car's hidden electrical condition.
Here are some important points to observe during voltage measurement:
- Stable voltage readings between 12 and 14 volts
- Check voltage at various lighting components
- Note any noticeable variations or irregularities
- Document your measurement results for further analysis
By methodically measuring the voltage with a multimeter, you can uncover hidden electrical problems and prevent potential future lighting failures in your vehicle.
Step 4: Replace Broken Components
After thorough inspection and voltage measurement, it's time to replace the components found to be defective in the car's lighting system. This phase requires precision, the right tools, and a systematic approach to ensure correct functionality.
Prepare thoroughly before replacement. Acquire the correct spare parts by checking the car model, year, and exact component specification. Purchasing spare parts from authorized dealers or reputable suppliers ensures the highest possible quality and compatibility. Bring the old component with you when shopping to guarantee an exact match.
When starting the replacement, always disconnect the car battery to prevent electrical short circuits or damage. Use the correct tools – screwdrivers, pliers, and possibly specialized tools specific to your car model. Be careful when handling delicate electrical components and avoid unnecessary force that could cause further damage.
For bulb replacement, the process is relatively simple. Open the lamp cover, loosen the old bulb by twisting it counter-clockwise, and install the new one in the same position. Ensure the bulb is securely fitted and correctly aimed. For more complex components such as relays or fuses, the process may be more intricate and require more technical skill.
Explore modern diagnostic techniques that can help you understand and identify the correct components for replacement. Modern tools can provide you with precise information about which parts need to be replaced.
After replacement, it is crucial to test and verify the functionality of the new component. Reconnect the battery, start the car, and check that all lights are working correctly. Test both high and low beams, hazard lights, and brake lights to ensure full functionality.
Here are some critical points to consider when replacing components:
- Always use original parts or high-quality spare parts
- Disconnect the battery before replacement
- Be careful and avoid unnecessary force
- Test thoroughly after installation
A methodical and thorough component replacement ensures that your vehicle's lighting system functions optimally and safely.
Step 5: Test the Lighting After Repair
Once you have replaced faulty components, it is crucial to thoroughly test the car's lighting system to ensure full functionality and safety. This final phase is more than just a simple check – it is your last opportunity to verify that all electrical repairs have been successful.
Prepare a systematic testing process by parking the car on a flat surface in front of a bright wall or an empty area. This creates perfect conditions for a thorough lighting inspection. Activate different lighting functions individually and observe the light intensity, direction, and color. Each light should shine clearly and evenly without flickering or irregularities.
Start with the headlights. Check both high and low beams, observe the light spread, and ensure the light beam is correctly aimed. Improperly adjusted headlights can compromise road safety by blinding oncoming vehicles or creating poor visibility while driving. Adjust as needed for optimal light angle and range.
Next, test the other external lights: turn signals, brake lights, reverse lights, and hazard lights. Each function should activate immediately and operate consistently. Listen for any unusual sounds or look for signs of electrical interference when the lights are on. A properly functioning light should shine steadily and clearly without flickering or irregularities.
Learn more about advanced diagnostic methods that can help you further refine your troubleshooting process. Modern diagnostic tools can give you deeper insight into the car's electrical system.
Before nightfall or in dark conditions, perform a final visual check. Stand behind the car and in front of the car to verify that all lights are working correctly from different angles. This gives you a comprehensive view of the lighting system's performance and ensures that no details are overlooked.
Here are some critical points to verify during the test:
- Even and consistent light intensity
- Correct direction for headlights
- Immediate activation of all light functions
- Absence of electrical interference or flickering
A thorough and methodical test after repair not only ensures that your vehicle's lighting system functions optimally but also increases your safety on the road.
Here is a checklist table to help you systematically verify all lighting functions after completing repairs. Use this table to ensure no steps are missed during your final testing phase.
| Function | Checklist Item | Completed (Yes/No) |
|---|---|---|
| Headlights (high beam) | Light intensity and spread | |
| Headlights (low beam) | Correct direction and brightness | |
| Tail lights | Even and clear illumination | |
| Brake lights | Immediate activation | |
| Turn signals | Flashes regularly and clearly | |
| Reverse lights | Illuminates when in reverse gear | |
| Hazard lights | Flashes on all sides simultaneously |
Troubleshoot Your Car's Electrical Faults Easily – The Solution Awaits You!
Does it feel uncertain to manually troubleshoot your car's lighting, check fuses, and analyze wiring? Finding broken components yourself and interpreting measurement results can be both stressful and time-consuming. Many car owners want to avoid unnecessary workshop costs but lack smart tools to reliably find the source of faults. With the help of modern fault code readers and diagnostic equipment from felkodslasare.se, you can quickly and safely identify the exact problem your lighting system has.
Explore how easy diagnosis and troubleshooting become with the right products – take the step now to avoid frustration at the next electrical fault. Learn more about fault codes and which tools suit your car model on our page How to efficiently decode fault codes or go directly to felkodslasare.se to find smart solutions and accessories. Start troubleshooting like a pro – your lighting and safety deserve it!
Frequently Asked Questions
How can I inspect the lights and fuses in my car?
Start by locating the fuse box in your car and carefully checking each fuse for damage. Also, inspect the bulbs to ensure they light up clearly and without problems.
What should I do if I discover damaged cables or connections?
If you see damage to cables or corrosion at connections, it is important to repair or replace these parts to ensure proper electrical contact and functionality.
How do I measure the voltage in the car's lighting system with a multimeter?
Use a digital multimeter and set it to DC voltage. Measure the voltage at the battery and at various lighting components to verify they are working correctly.
What are the most common symptoms of a lighting problem in a car?
Dim or flickering lights, blown fuses, and uneven brightness are common signs of lighting problems. These should be addressed immediately for safety.
To facilitate troubleshooting, here is a table of common symptoms, possible causes, and recommended actions when encountering problems with your car's lighting system.
| Symptom | Probable Cause | Recommended Action |
|---|---|---|
| Dim or flickering light | Worn bulb or contact | Replace bulb, check connection |
| Light does not illuminate | Blown fuse, bulb, or cable | Check and replace fuse/bulb |
| Irregular light or flicker | Loose or corroded connections | Clean or replace connection |
| Visible damage to fuse | Overload or short circuit | Replace fuse, look for short circuit |
| Voltage deviations | Cable fault or alternator problem | Inspect wiring, measure battery and alternator |