


Many car owners worry when unusual noises suddenly appear while driving, wondering if expensive repairs await. Thousands of different noises can point to problems, but research shows that over 60 percent of car-related noise issues can be resolved with simple troubleshooting steps at home. Believe it or not, most fixes don't require special tools or expert knowledge – small clues can reveal exactly what's wrong long before the car breaks down.
Table of Contents
- Step 1: Identify the source of the noise
- Step 2: Listen carefully under different driving conditions
- Step 3: Check the car's fluids and components
- Step 4: Perform a visual inspection of the exhaust system
- Step 5: Test the car after repairs
- Step 6: Document findings and actions
Quick Summary
| Important Point | Explanation |
|---|---|
| 1. Carefully identify the sources of the noise | Pay attention to where and when the sound is heard to locate mechanical problems. |
| 2. Test under various driving conditions | Drive the car in different situations to better understand the nature and origin of the sounds. |
| 3. Check fluids and components | Inspect engine oil and coolant to detect signs of problems and damage. |
| 4. Perform a visual inspection of the exhaust system | Inspect the exhaust system for corrosion or loose parts that could cause noise. |
| 5. Document everything carefully | Write down all observations and actions for future maintenance and reference. |
Step 1: Identify the source of the noise
When you start troubleshooting car noises, it is crucial to first identify the origin of the unusual sound. Every abnormal noise is like a language your car speaks and can indicate potential mechanical problems that require immediate attention.
Begin by conducting a thorough sound analysis by paying attention to when and where the sound occurs. Is it a loud screech when you brake? A dull thud from the engine? A squealing sound when you turn? Every detail is important. Listen actively and try to memorize exactly how the sound sounds, where it is heard, and under what conditions it appears.
When identifying the nature of the sound, document its characteristics. Note specific details such as:
- The pitch of the sound (high, low, sharp)
- Time when the sound is heard (during acceleration, braking, idling)
- Location in the car where the sound seems to come from (engine, wheels, brakes)
A systematic review is key. Start the car and listen carefully while driving under different conditions. Drive on various surfaces such as asphalt, gravel, and concrete. Accelerate and brake controllably. Turn at different speeds. Each change can reveal more information about the source of the sound.
If the sound is complex or difficult to locate, ask an experienced mechanic or a colleague to listen. Sometimes, a second person's ears can perceive nuances you might have missed. External confirmation can provide valuable insights and help you pinpoint the origin of the problem.
Through careful observation and methodical documentation, you create a solid foundation for the continued troubleshooting process. Remember that early signs often prevent larger and more expensive repairs later.
To quickly provide an overview of the entire troubleshooting process, a summary table is presented here with the most important steps, estimated difficulty, and primary focus for each phase.
| Step | Name | Difficulty | Main focus |
|---|---|---|---|
| 1 | Identify the source of the noise | Easy | Locate and describe the sound |
| 2 | Listen under different driving conditions | Easy | Test the sound's variation and source |
| 3 | Check fluids and components | Medium | Detect signs of wear and leakage |
| 4 | Visual inspection of the exhaust system | Medium | Look for damage, rust, and loose parts |
| 5 | Test the car after repairs | Medium | Verify that the problem is resolved |
| 6 | Document findings and actions | Easy | Save information for the future |
Step 2: Listen carefully under different driving conditions
After the initial identification of the source of the noise, the next critical step is to listen carefully under varying driving conditions. Each type of driving can reveal different aspects of a potential mechanical problem and give you more precise information about the nature and origin of the noise.
Start by creating a structured listening plan that covers various driving situations. Test drive the car under several specific conditions to isolate when and how the sound occurs. Start at low speeds and gradually increase. Listen carefully when accelerating, braking, turning, and driving on different surfaces such as asphalt, gravel, and concrete.
At low speeds, you can focus on subtle noises that may disappear as you pick up speed. Pay particular attention to:
- Brake noises
- Abnormal engine noises
- Noises from the suspension
When driving on the highway or at higher speeds, be extra observant of vibrations and noises that may indicate problems with tires, wheel bearings, or balancing. A dull thudding or humming sound may indicate more serious mechanical problems requiring immediate attention.
If possible, conduct the test drive with an experienced mechanic or a seasoned car enthusiast. A second set of ears can perceive nuances you might have missed. They can help you confirm suspicions and provide more detailed insights into the source of the sound.
Carefully document your observations. Note exactly when and how the sound appears, its intensity, and any patterns. These details will be crucial when you later consult a professional mechanic or begin the troubleshooting process.
Remember that every sound tells a story about your car's health. Through systematic and careful listening under different driving conditions, you create a clear picture of the potential origin and extent of the problem.
Step 3: Check the car's fluids and components
As you continue to troubleshoot car noises, checking fluids and components is a crucial phase that can often reveal the origin of the problem. Every fluid and component has a story to tell about the car's health and potential mechanical challenges.
Start with the engine oil, the car's lifeblood. Check the oil level and its consistency using the dipstick. A low oil level or contaminated oil can create metallic scraping sounds indicating insufficient lubrication. Look for a darker color or small metal particles that may indicate wear on the engine's internal components.
The next step is to examine the coolant. Pay attention to:
- Fluid level
- Color and purity
- Signs of leakage
A bubbling or hissing sound can indicate problems with the cooling system. Low coolant levels or contaminated fluid can cause overheating and abnormal engine noises. Inspect hoses and the radiator for cracks or signs of wear that could result in leakage.
Brake fluid and power steering fluid are also critical. Low levels can create squealing or creaking noises when braking or turning. Check these fluids carefully and look for signs of contamination or degradation.
Learn more about modern diagnostic tools that can help you identify hidden problems faster and more efficiently.
Conduct a thorough visual inspection of the car's components. Look for loose or worn belts, cracks in hoses, and signs of oxidation or corrosion. These visual signs can complement the noises you have previously identified and provide a more comprehensive understanding of the car's technical condition.
Conclude the check by documenting your observations. Note exactly where and how each component looks, and compare this to the car's normal condition. This systematic approach ensures that no detail is overlooked in the troubleshooting process.
To facilitate the checking of fluids and components, here is a summary of which parts should be examined, what to look for, and possible signs of problems.
| Part/Component | What to check | Possible problems |
|---|---|---|
| Engine oil | Level, color, particles | Scraping sounds, wear |
| Coolant | Level, color, purity | Bubbling sounds, overheating |
| Brake fluid | Level, clarity | Squealing, reduced braking performance |
| Power steering fluid | Level, contamination | Creaking when turning |
| Belts | Wear, cracks | Squealing, loss of function |
| Hoses | Cracks, leaks | Hissing, leaks |
| Exhaust system | Rust, loose parts | Rattling, metallic sounds |
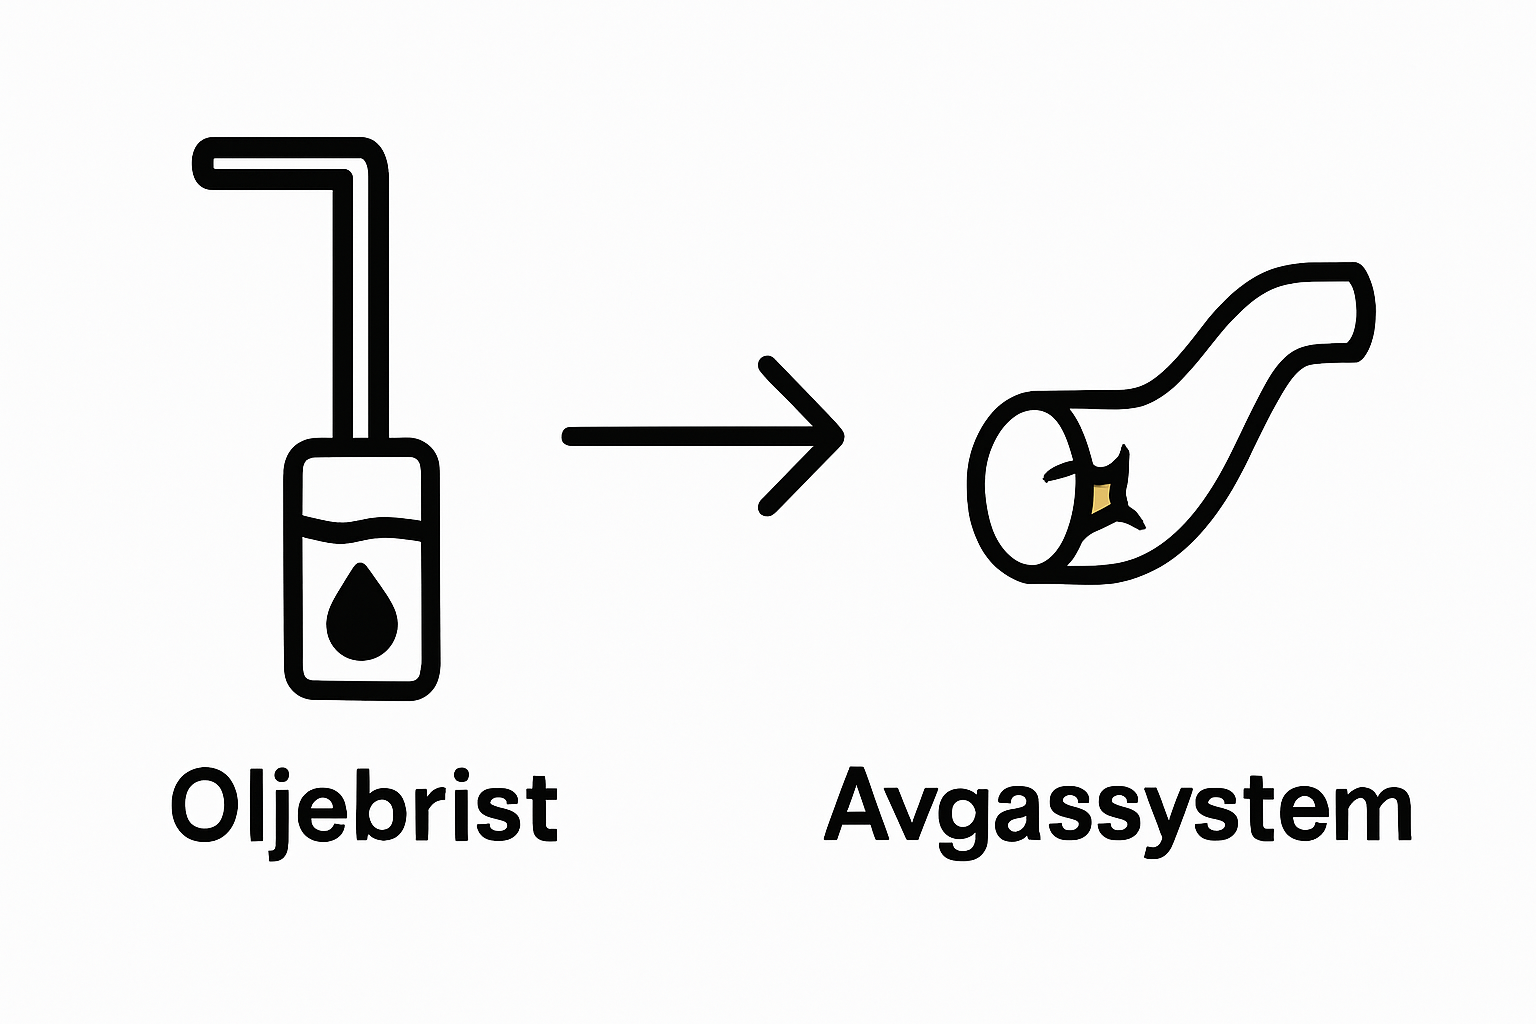
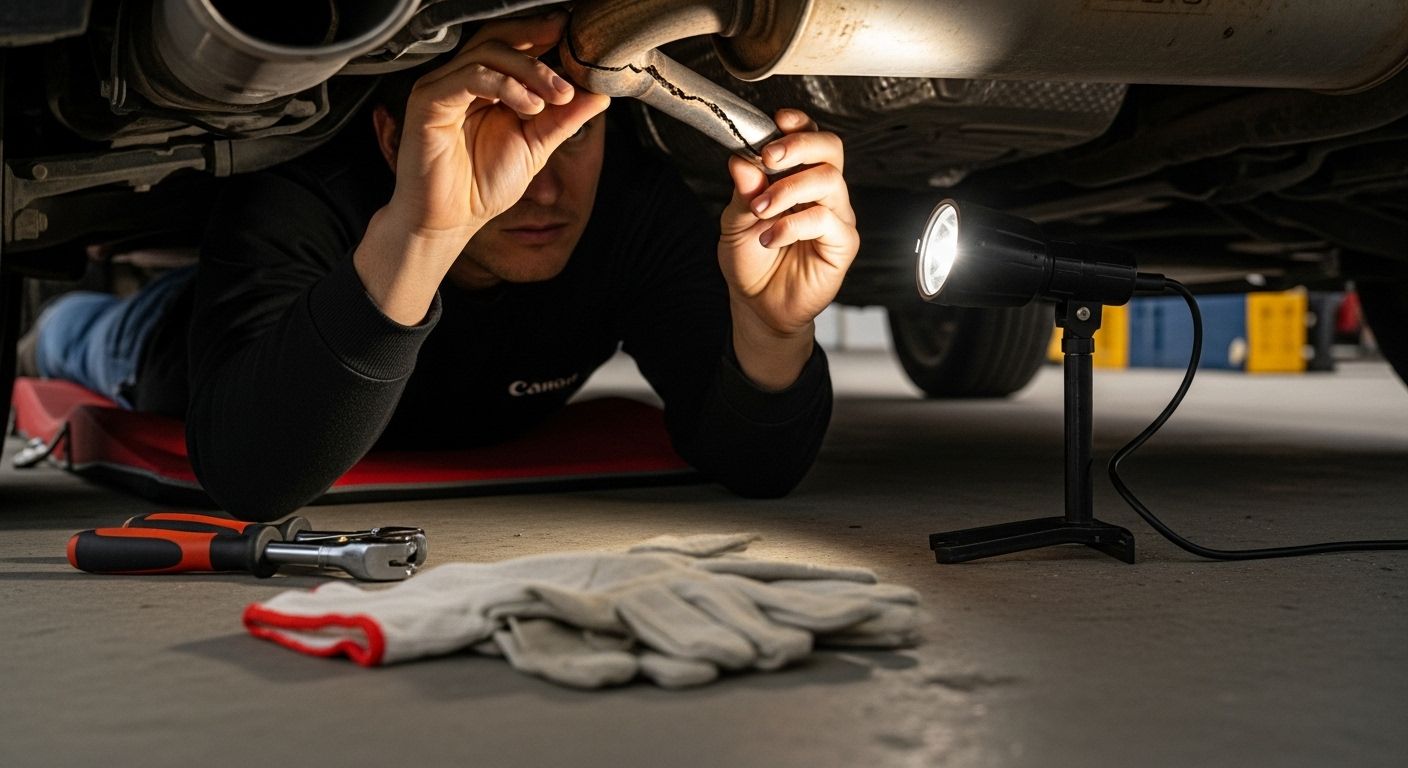
Step 4: Perform a visual inspection of the exhaust system
The exhaust system is a critical component that can reveal a lot about a car's mechanical health. A thorough visual inspection can help you identify potential problems causing the noises you've previously noted.
Begin the inspection under the car with plenty of light and a flashlight. Look closely for signs of corrosion, cracks, or loose components along the entire exhaust system. Rusty sections or visible holes can indicate more than just aesthetic problems – they can be direct sources of abnormal noises.
Each part of the exhaust system requires special attention. Focus particularly on:
- Exhaust pipe connection points
- Catalytic converter condition
- Muffler condition
- Integrity of fasteners and hangers
Listen for scraping or rattling sounds when you gently touch the exhaust system components. Loose fasteners or worn rubber hangers can create metallic sounds that travel through the car's chassis. Check that all fasteners are tight and show no signs of excessive wear.
Explore advanced diagnostic techniques that can complement your visual inspection and provide more detailed information.
Also, pay attention to the color and consistency of the exhaust pipe. Abnormal soot formation or strange color changes can indicate combustion problems that generate unusual noises. White, blue, or black deposits can indicate specific engine problems that need further investigation.
Conclude the inspection by documenting your observations. Take high-quality pictures of suspicious areas and note exactly where and how each component looks. This documentation will be valuable if you need to consult a professional mechanic or need to compare the car's current condition with its previous state.
Step 5: Test the car after repairs
After performing repairs, it is crucial to thoroughly test the car to ensure that the problem has truly been resolved. Thorough testing not only confirms the success of the repair but also provides peace of mind and confidence in the car's continued function.
Begin with a systematic testing process that covers various driving situations. Start the car and listen carefully during the first few minutes. Be particularly observant of whether the previously audible noises still exist or if new noises have appeared. A completely quiet engine or a smooth engine sound is often the first sign of a successful repair.
Your test criteria should include:
- Driving at low speeds
- Acceleration and braking
- Driving on different road surfaces
- Turning and parking
Discover advanced diagnostic methods that can help you verify the completeness of the repair.
During the test drive, pay attention to the car's overall behavior. Observe vibration levels, steering response, and how the car reacts under different conditions. Note if the brakes operate smoothly, if the steering feels stable, and if acceleration is even and predictable.
Carefully document your observations. Note exactly which noises have disappeared, which may remain, and if any new noises have appeared. This documentation will be valuable if further consultation with a mechanic becomes necessary.
Conclude the test with a thorough review of the car's dashboard. Check that warning lights are off and that all gauges are functioning normally. If you have previously used a fault code reader, perform a new scan to confirm that no remaining fault codes exist.
Do not be afraid to repeat the test at different times and under different conditions. Sometimes problems can only be reproduced under specific circumstances. The more comprehensive your testing, the greater certainty you will have that the problem is permanently resolved.
Step 6: Document findings and actions
Documentation is the critical final phase of the troubleshooting process that ensures all information about the car's problems and completed repairs is systematically preserved. Thorough documentation not only protects your investment but also provides valuable information for future maintenance and potential sales.
Create a detailed technical journal that includes every step of your troubleshooting journey. Begin by summarizing the original symptoms, what sounds you heard, and under what specific driving conditions they occurred. The documentation should be as precise as possible, with exact descriptions that can help future mechanics understand the car's history.
Your documentation points should include:
- Date of first discovery of the problem
- Exact description of the nature of the sounds
- Inspections performed
- Components replaced
- Repair costs
Explore advanced documentation methods that can improve your technical record-keeping.
Photography is a powerful documentation tool. Take high-quality pictures of problem areas before and after the repair. Document damaged components, the repair process, and the final result. These photographs serve as visual evidence and can be invaluable for future maintenance or warranty claims.
Save all relevant receipts, invoices, and any fault codes registered during diagnosis. Organize these documents systematically, preferably digitally, so they are easy to retrieve. Create backups on cloud storage or external drives to prevent loss of important information.
Conclude the documentation process with a summary report that includes your conclusions, actions taken, and recommendations for future maintenance. This report will be a valuable reference that can help you track the car's history and prevent future problems.
Remember that a well-documented repair process is as important as the repair itself. Your meticulousness today can save you time, money, and headaches in the future.
Discover the source of noise faster with the right diagnostic tool
You've already spent time listening, documenting, and systematically tracking strange noises from your car. The frustration of not finding the fault despite careful troubleshooting is palpable. Many car owners notice that traditional methods are insufficient when hidden faults and noises continue to disrupt daily life. An effective solution is to quickly find exact fault codes – so that faults can be rectified before major problems arise.

Take control of your car's health today. With a professional diagnostic tool from Felkodslasare.se, you can read fault codes, interpret signals, and find the real cause behind suspicious noises and warning lights. Choose the right fault code reader for your car or motorcycle and follow simple guides to save both time and expensive workshop visits. Ensure your safety on the roads – visit Felkodslasare.se now and find the tool that suits you. Can you find the next fault sound yourself?
Frequently Asked Questions
How can I identify the source of a sound in my car?
Start by observing when and where the sound occurs. Note the pitch of the sound, the timing, and the location in the car where it seems to be coming from. Perform a thorough sound analysis under different driving conditions to pinpoint the problem.
What should I check if I hear strange noises while driving?
Check the car's fluids such as engine oil, coolant, and brake fluid. Also, inspect components like brakes, tires, and the exhaust system for any damage or signs of wear.
What noises can indicate a serious mechanical problem in the car?
Noises such as grinding when braking, a dull knocking from the engine, or squealing sounds when turning can indicate serious mechanical problems that require immediate attention.
How often should I document the car's problems and repairs?
It's good practice to meticulously document every problem and repair performed, especially after addressing a specific noise issue. This creates a history that can help both you and future mechanics understand the car's condition.